I took some pictures during the bearing swap. I didn't post them before because uploading photos to this site is a pain in the ass. But here they are:
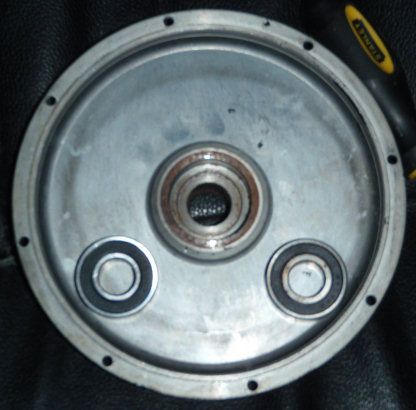
This is the small bearing. 6202 2RS. New one is on the left. I took this one out without removing the gear freewheel because I couldn't find the tool for it. It went ok with the help of a steel bar that I had.
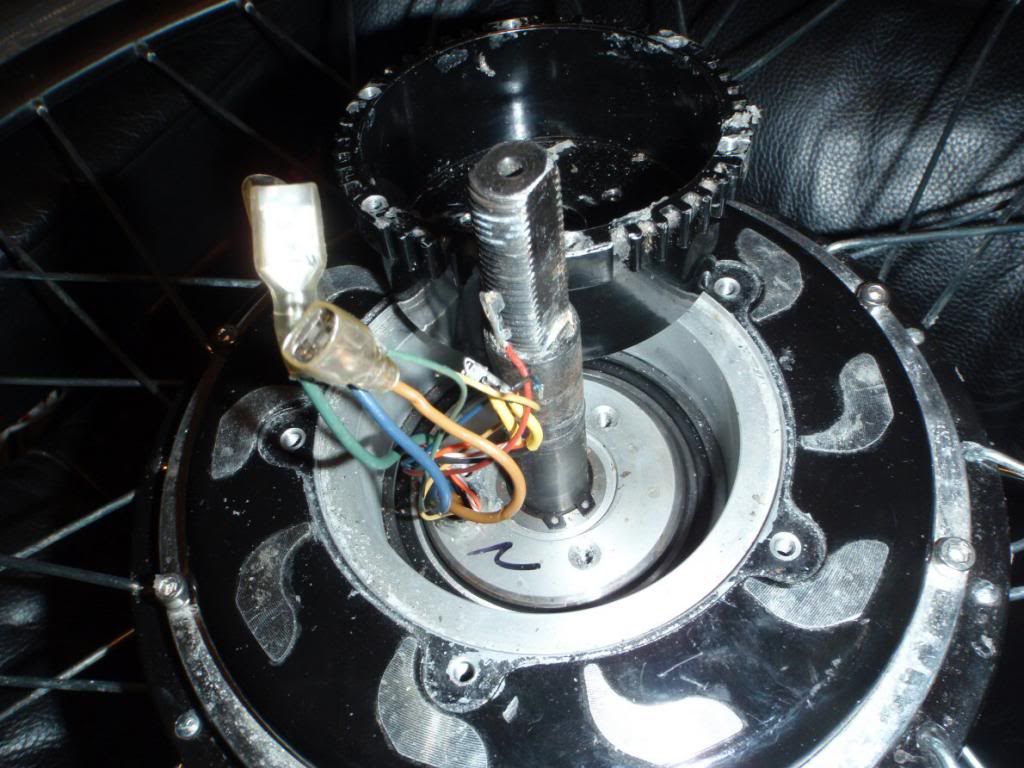
This is to show the location of the big bearing. 6812 2RS. As you can see you need to remove the controller cup and to do that you might need to cut the hall sensor plug. I don't know if the original one fits trough the hole, but my modified one didn't (6pin JST-SM).
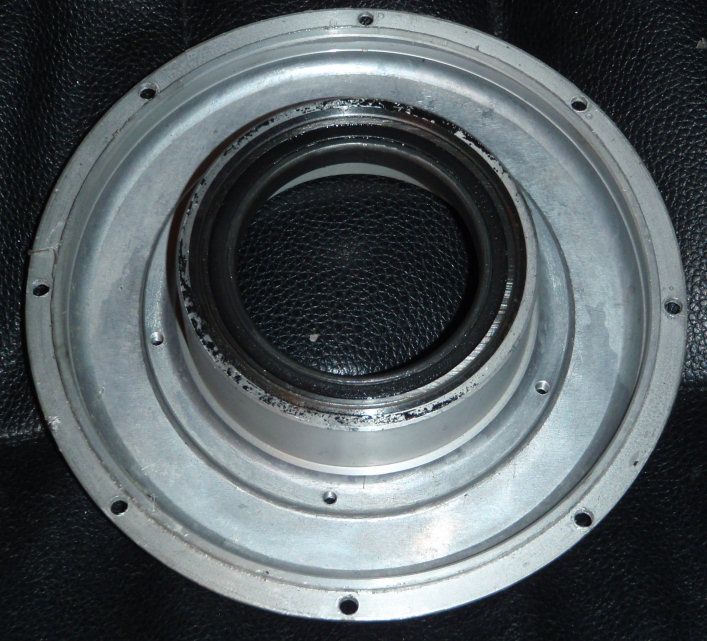
To punch out the bearing you either need to remove the side cover, remove the stator or do as I did and remove both. The stator is held in place by the big bearing so it is probably best to remove the stator before taking the cover off so it doesn't damage the magnets. And if you need to punch the bearing out somewhere with metal shavings around you don't want to bring the magnet ring.
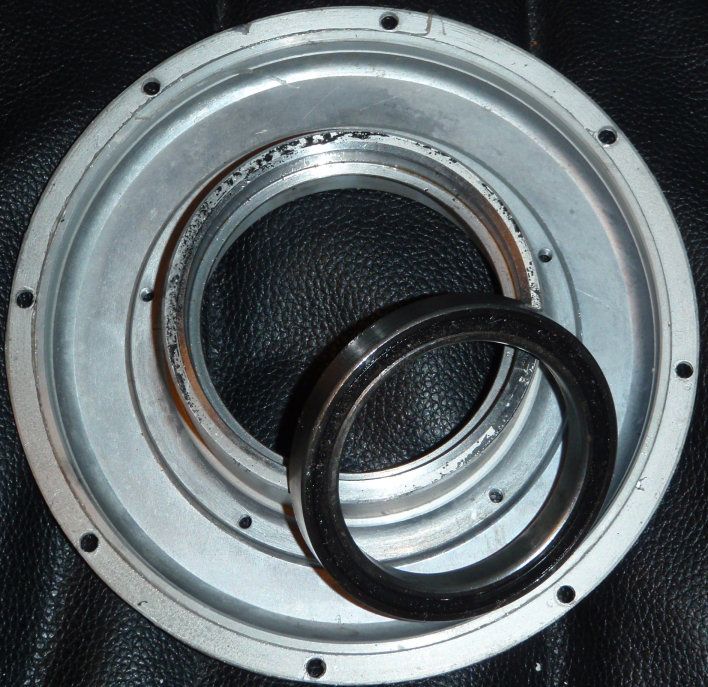
This picture clearly shows which way you need to punch it out, but if you couldn't figure that out yourself you might not want to start on this in the first place.
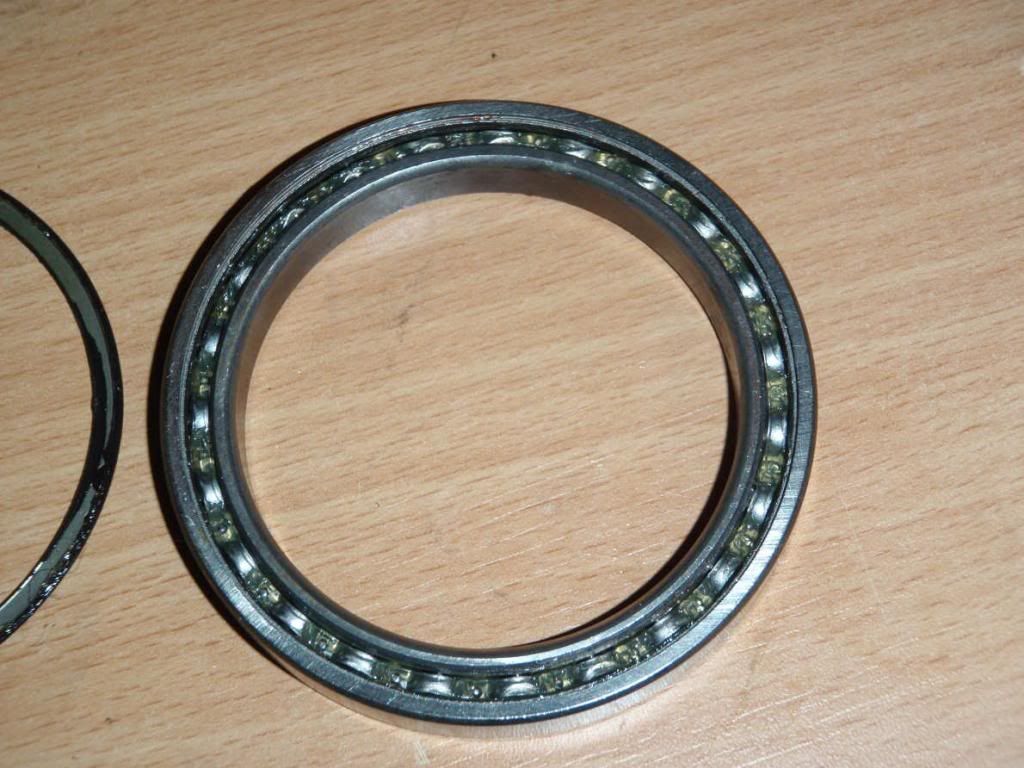
This is the old bearing with the rubber sealing removed to show that the bearing is in good condition.
Next time I buy a hub motor I'll probably look for one that has the cables exiting through the axle. That way I know new bearings are small and cheap and that they are placed far away from each others. But even then I guess there is no guarantees, the axle might break instead.